For this quilt we will be using what I like to call the "pillow technique". We will be sewing all around the edge and turning it inside out. This is one of the easiest and fastest ways of finishing off a quilt. It eliminates having to do a binding and a whole lot of quilting. I use this technique when I use a thicker backing fabric, which in this case is the super soft minky fabric.

So you have your entire quilt front sewn together and now we need to create our quilt sandwich. You will need to lay out the batting, minky backing, and quilt top as follows....
In a large area, either table or floor, lay out your batting. It needs to be roughly 2-4 inches wider than your quilt top. Then lay your minky backing fabric right side up (also 2-4 inches wider than your quilt top). Lastly is your quilt top wrong side up.
1- batting
2- minky/ backing right side up
3- quilt top wrong side up
Pin the edges all the way around at the seams. This helps keep all the layers in place.

Now you will need to trim the seams down. Since you have to leave the batting and minky backing fabric bigger than the quilt top I trim both of them about an inch from the quilt top ledge.


Now you can finally turn it inside out.

Make sure all corners are turned inside out well, then pin the hole closed.

Now you will need to sew all around the perimeter of the quilt 1/8 of an inch from the edge. This will close up the hole as well as give it a nice finished edge.

Only one more thing left to do... to hand tie the corners.
At all the intersections, where 4 squares meet, you will be tieing all three layers of your quilt.
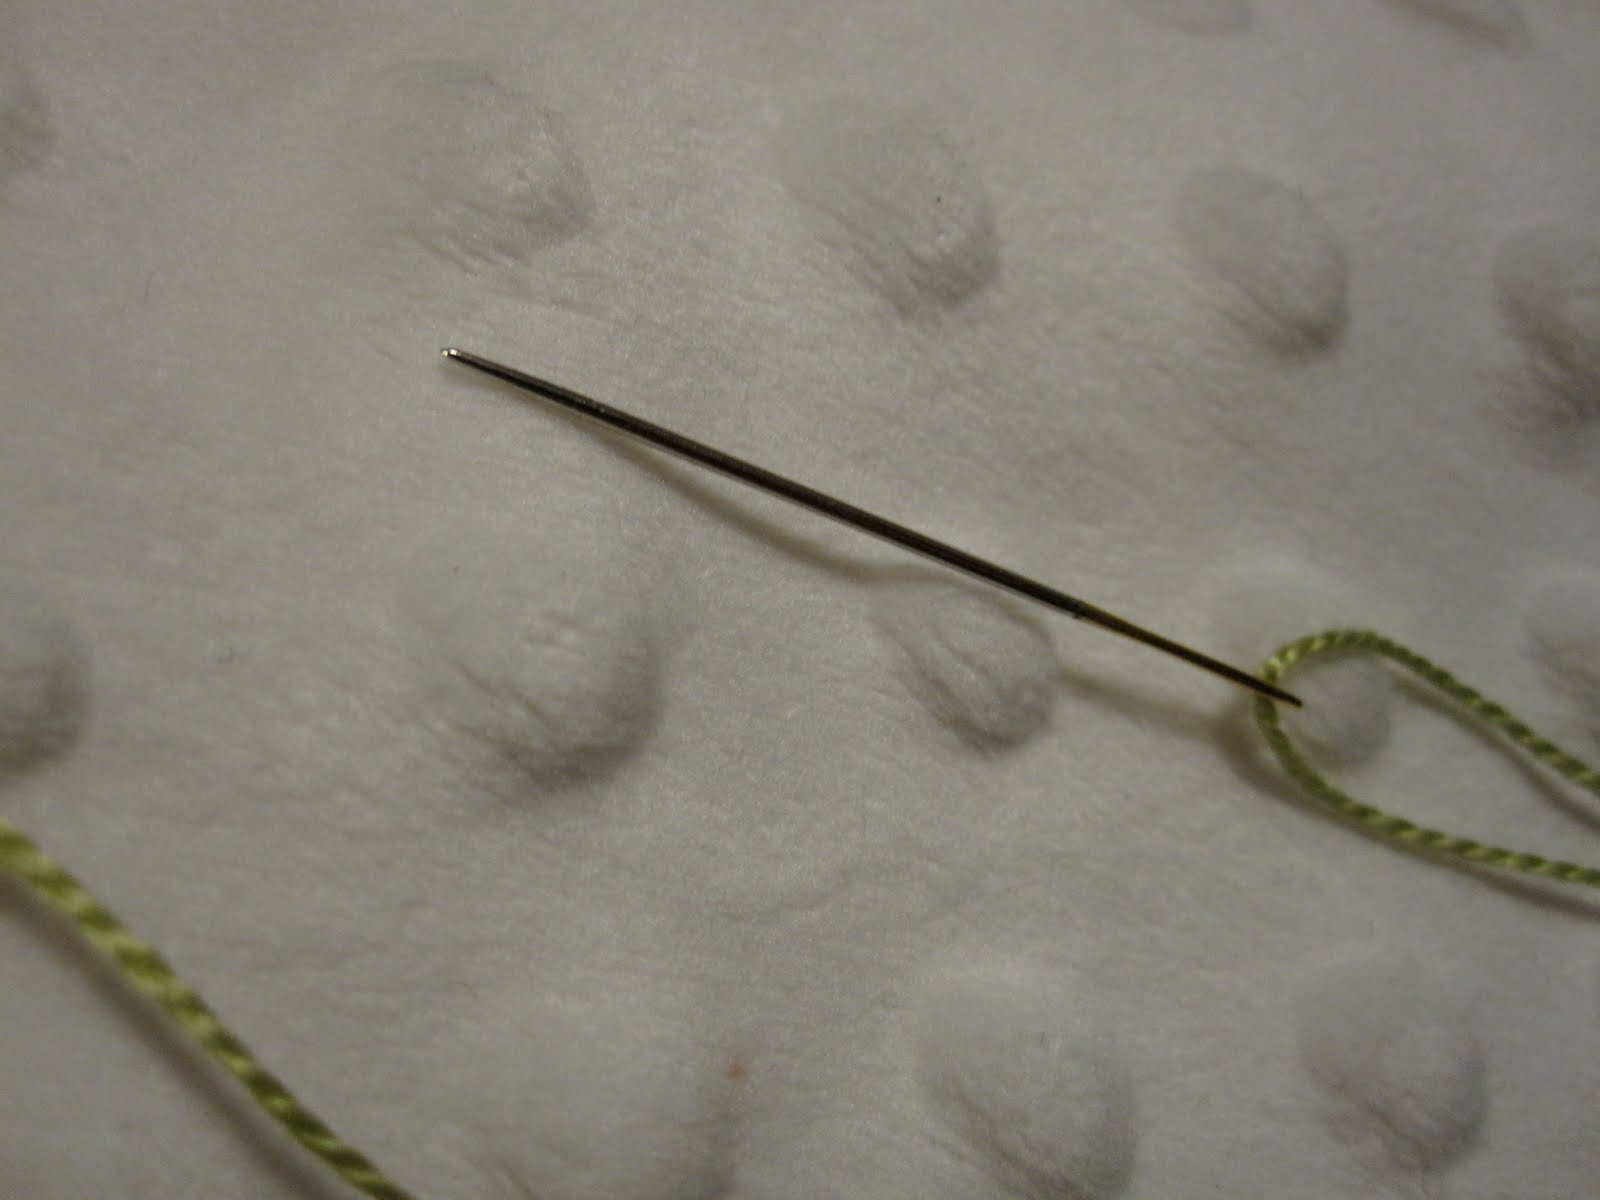
First you will need to take your embroidery thread out and cut a piece of thread about 12 inches long. Thread that onto an embroidery thread and do not knot the end.
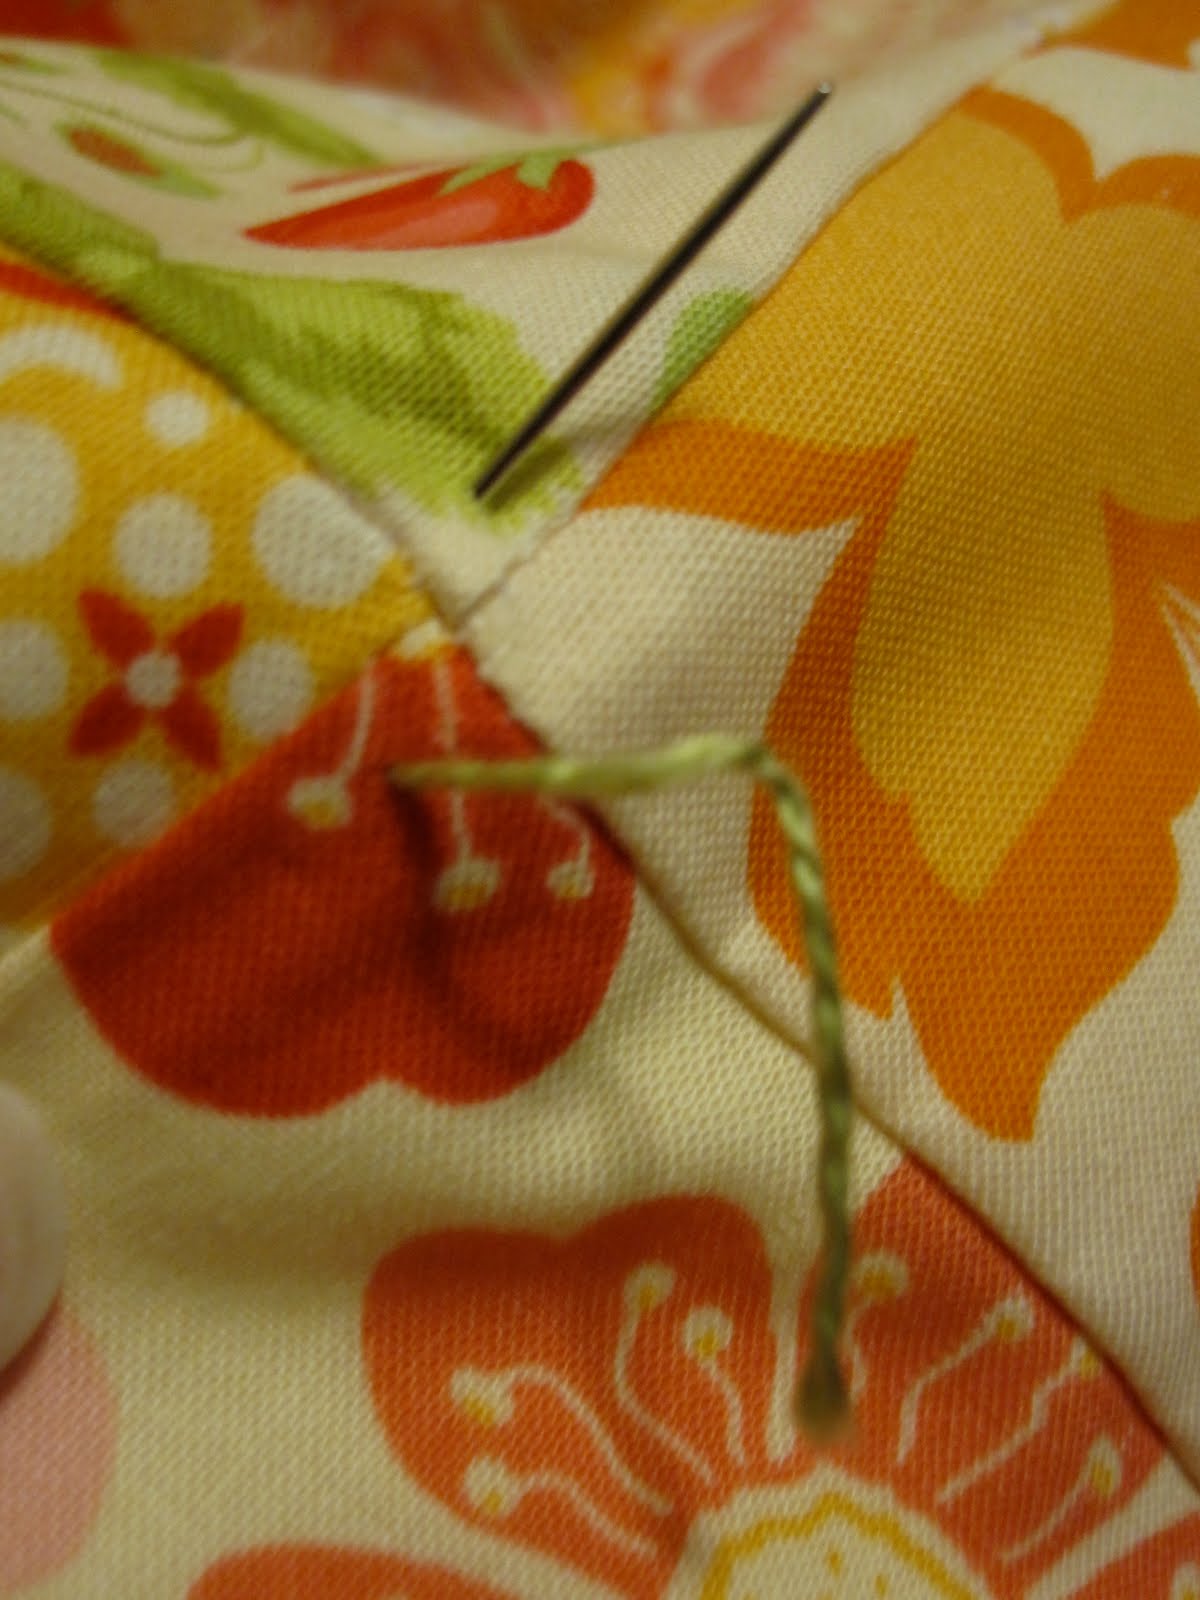
Put your needle in from the top of the quilt at one intersection.

then pull it leaving a tail on the top. Bring up the needle from the back up to the front of the quilt.
Then you will take both tails of the thread to create a knot.

Create a double knot.

Now you just trim each of the tails to the length you want.

Tada! Now you just have to repeat for each intersection and your done :)

Now admire your brand new quilt hanging on the back of your couch...

or folded up nicely.

Congratulations and Enjoy!
Don't forget to share pictures of your finished quilt on our Flickr group page.
Tomorrow I will post how you can win my fabric giveaway!
take care mucho!
-Natalie
That is very cute! I need to try this method soon, since my binding technique is far from perfect :)
ReplyDeleteThis afternoon, I made a little pin cushion and a small (8x12) table topper. I was pleased with it!
i'm a bit behind!! i am not completely done with my quilt top!! maybe tonight i can finish it!
ReplyDelete