You need to get out the 2.5 inch strips that were left over from the fat quarter. You will also need to cut a 16in. x 2.5 in. strip out of the scraps from your backing fabric.
You will be connecting these strips together like I show you below...
 put two stripes together like the picture shows, with right sides facing each other.
 Draw a line on the diagonal.
 Sew along the line you just drew.
 I like to chain piece the binding together to make it go much faster. I fold the end of the strip that is on top over so the other end of it is facing right side up.
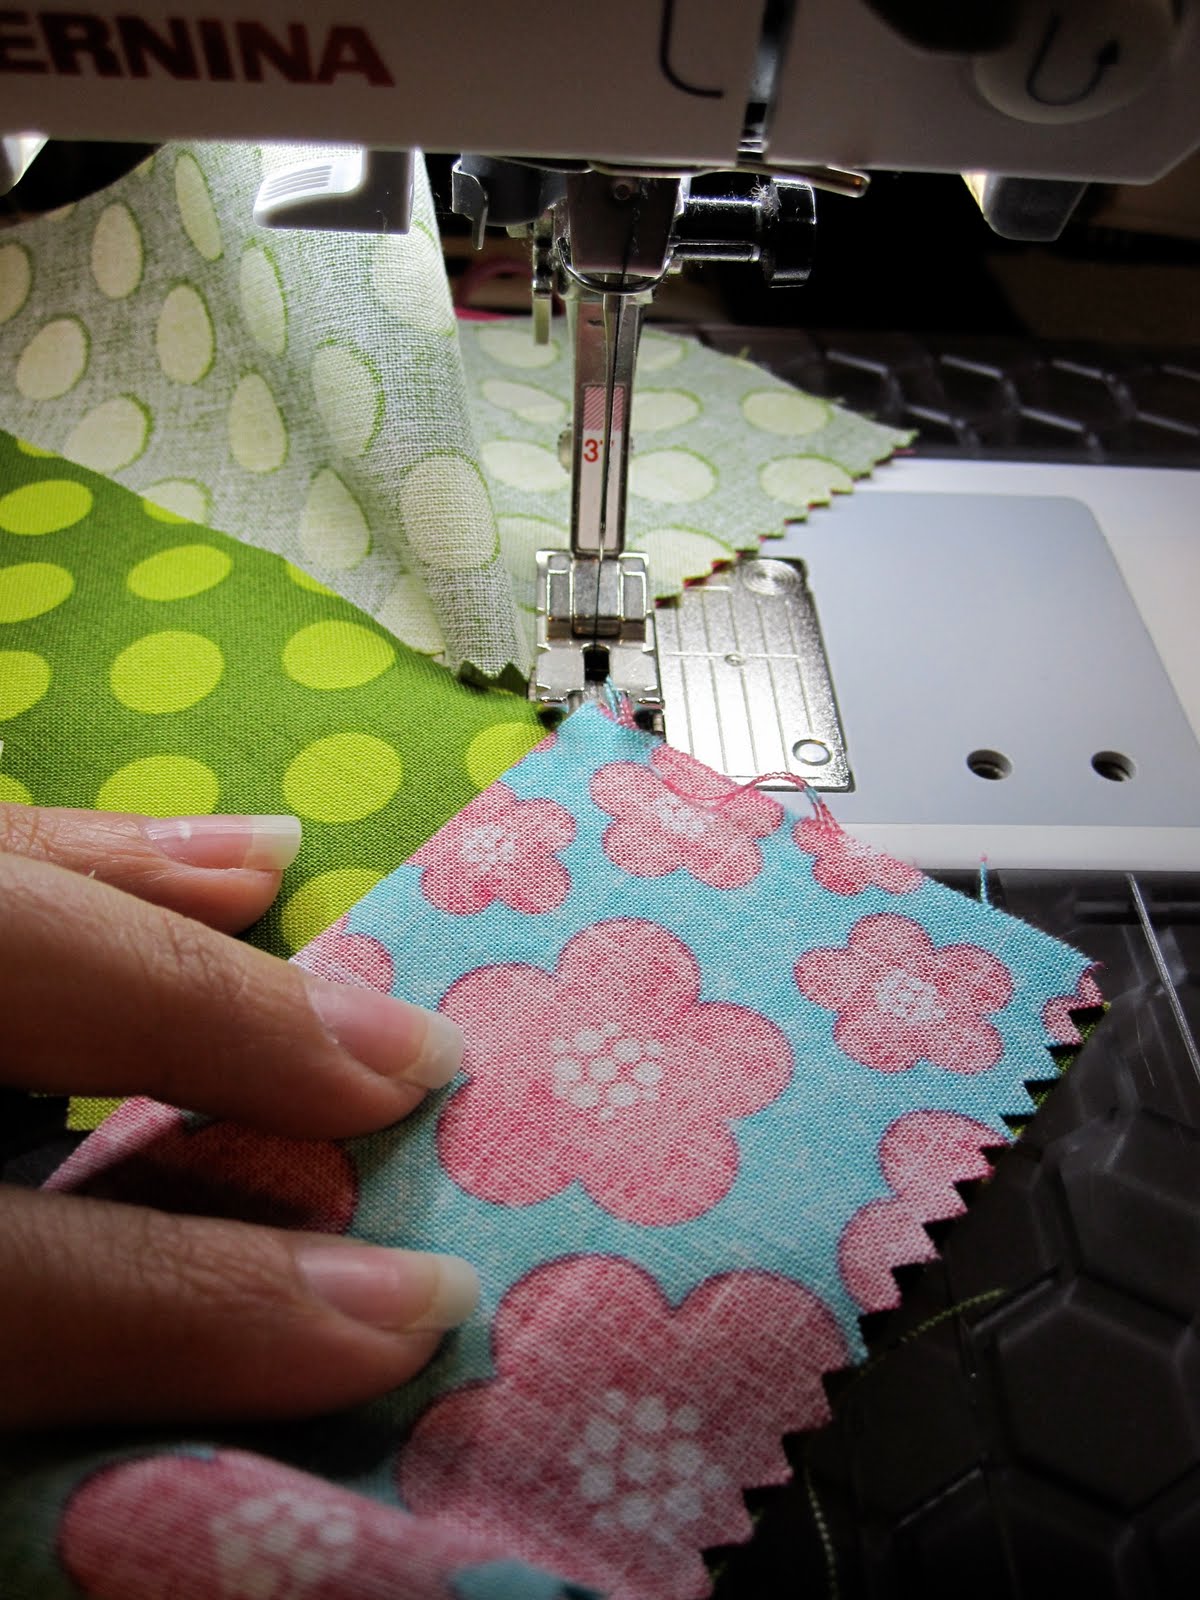 Then I take the next strip and put it face down and perpendicular to the bottom strip. And sew across diagonally. You will continue piecing the binding together until all 13 strips are sewn.
 Now you have to iron all the seams open...
 And iron the entire length of the binding strip in half.
 After ironing it I like to roll it up until I am ready to sew it onto my quilt.
Sewing your binding onto your quilt:

First you want to trim your backing and batting down...
 start sewing the binding around the edge of the top of your quilt. You want to leave at least 6 inches of unsewn binding at the beginning and start it in the middle of an edge.
when you approach a corner..
 you need to stop 1/4 of an inch from the edge and leave your needle in the down position...
 pivot your foot perpendicular to the stitch line and sew to the edge.
 This is what the stitching should look like at the corners.
 now you need to fold the binding up like shown in the picture above...
 Then you are going to fold it down like it is pictured above....
 then slip the quilt under your machine and continue sewing the binding on.
You will repeat these steps for each corner.
 You will need to stop sewing about 7 (ish) inches from where you started. There will be two tails of binding hanging out.
 Lay one edge of binding over the other and cut one of them about the halfway point of opening.
 then place the edge that you just cut underneath and take out your ruler. You want to cut the binding edge that is now on top 2.5 inches overlapping the bottom binding edge.
 now you will have to fold the quilt so that you are able to get the two edge of your binding perpendicular (like you did when you were piecing your binding strips together). Draw your diagonal sewing line with your ruler.
Then sew along the line and then straighten it out.
 It should fit perfectly along the edge of your quilt. Sew the last bit of binding to your quilt.
Now your ready to do a little hand sewing to make the back of your quilt looking nice.
 Thread a needle and knot one end. You will start by putting the needle in so that it ends right along the fold of the binding.
 Fold the binding over and pull the thread through.
 I like to use the ladder stitch, so that is what I am going to show you. You will put your needle into the quilt right underneath where the thread is sticking out. Then have it coming out about 1 cm away.
 Then you are going to do the same thing but this time the needle will be pulled through the fold of the binding.
You will repeat those steps, one stitch on the quilt along the edge of the binding and then another step along the fold of the binding.
 When you come to the end of your thread you want to end after a binding edge stitch. You want to put the knot towards the edge of the quilt so that it is hidden once the rest of the binding is sewn on.
 Once you thread your needle again with more thread you want to start it the same way as before, by pulling your thread through the fold of the binding.
 Continue all the way around your quilt. You will have a nice finished edge!
 One thing I forgot to take pictures of is the corners. You just need to fiddle with it a little bit to make it look like a nice corner (it isn't very difficult I promise) and just make sure to do an extra stitch around there to make sure it stays put.
 Now you are finished!!
Take some time to admire your work and remember to use it and give your new quilt lots of love!
Congratulations on completing yet another quilt. The next quilt along will introduce you to strip piecing and free motion quilting. I'll be posting about it after July 4th weekend :) so look out and remember to join in on the fun!
Take care mucho,
-Natalie
No comments:
Post a Comment